
Two Dogs Destroyed Their Clifton Park Rental in 90 Days. Here’s the Repair List That Fixed It.
When Mike and Dana Ferrara adopted their second rescue dog in January, they thought they were prepared. They had good dogs. Mostly well-behaved dogs — dogs who, it turned out, had strong opinions about vinyl plank flooring when left alone together.
By April, the two dogs had scratched through the finish on 200 square feet of living room flooring, gouged the bottoms of three interior doors, chewed the corner off a baseboard near the back door, and left claw marks in the drywall near every threshold.
“I was terrified of losing our security deposit,” Dana says. “And honestly, even if we weren’t renters, I just didn’t want to live like that anymore.”
They called Local Handyman Repair. One visit. One day. Every item fixed.
The Most Common Pet Damage Repairs in Clifton Park and Albany Homes
If you share your home with dogs, some damage is inevitable. The good news: most of it is repairable, and an experienced handyman can knock out a full list in a single visit.
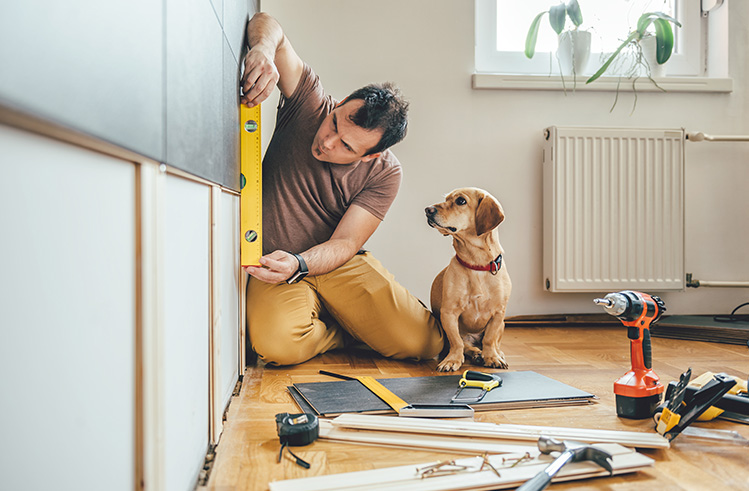
Flooring Repairs
For vinyl plank and luxury vinyl tile — the most common flooring in Clifton Park and Albany rentals from the last decade — surface scratches and damaged sections can often be repaired by replacing individual planks rather than the whole floor. This is significantly cheaper than full replacement and virtually invisible when done right. For hardwood, light scratches can be buffed and refinished; selective board replacement and spot refinishing handles more serious damage.
Door Repairs
For hollow-core interior doors, minor surface scratches can be filled and painted, but deep gouges that penetrate the facing are usually better addressed by replacing just the door slab — not the entire frame. It’s a straightforward task and far cheaper than full door replacement.
Baseboard and Trim Repairs
Chewed baseboard sections are removed and replaced with matching trim, caulked, primed, and painted to match. Most Clifton Park homes use standard 3.5-inch colonial or ranch baseboard profiles, readily available at any lumber yard. The cost is mostly labor.
Drywall Repairs
Claw marks and impact damage near doors are extremely common in dog households. Shallow gouges get skim-coated, sanded, primed, and painted. Larger damage requires patching panels, texture matching, primer, and paint. An experienced handyman can match most standard drywall textures, including the orange peel finish common in Clifton Park homes from the 1990s and 2000s.
Pet-Proofing While You’re At It
If you’re already doing repairs, adding prevention makes sense. Door edge protectors on vulnerable doors. Cabinet safety latches on base cabinets. A simple barn door latch high on the laundry room door keeps dogs out without a full renovation.
Mike and Dana, Three Months Later
“The house looks better than it did before we got the dogs,” Dana says. “Which is a little embarrassing, because it means we should have called sooner.”
Local Handyman Repair serves Clifton Park, Albany, Latham, Guilderland, and the Capital Region. If your pets have left their mark — give us a call. We’ll walk through the list and get it handled.
https://shorturl.fm/LTEQ9
https://shorturl.fm/yWYQh
https://shorturl.fm/3JXFi